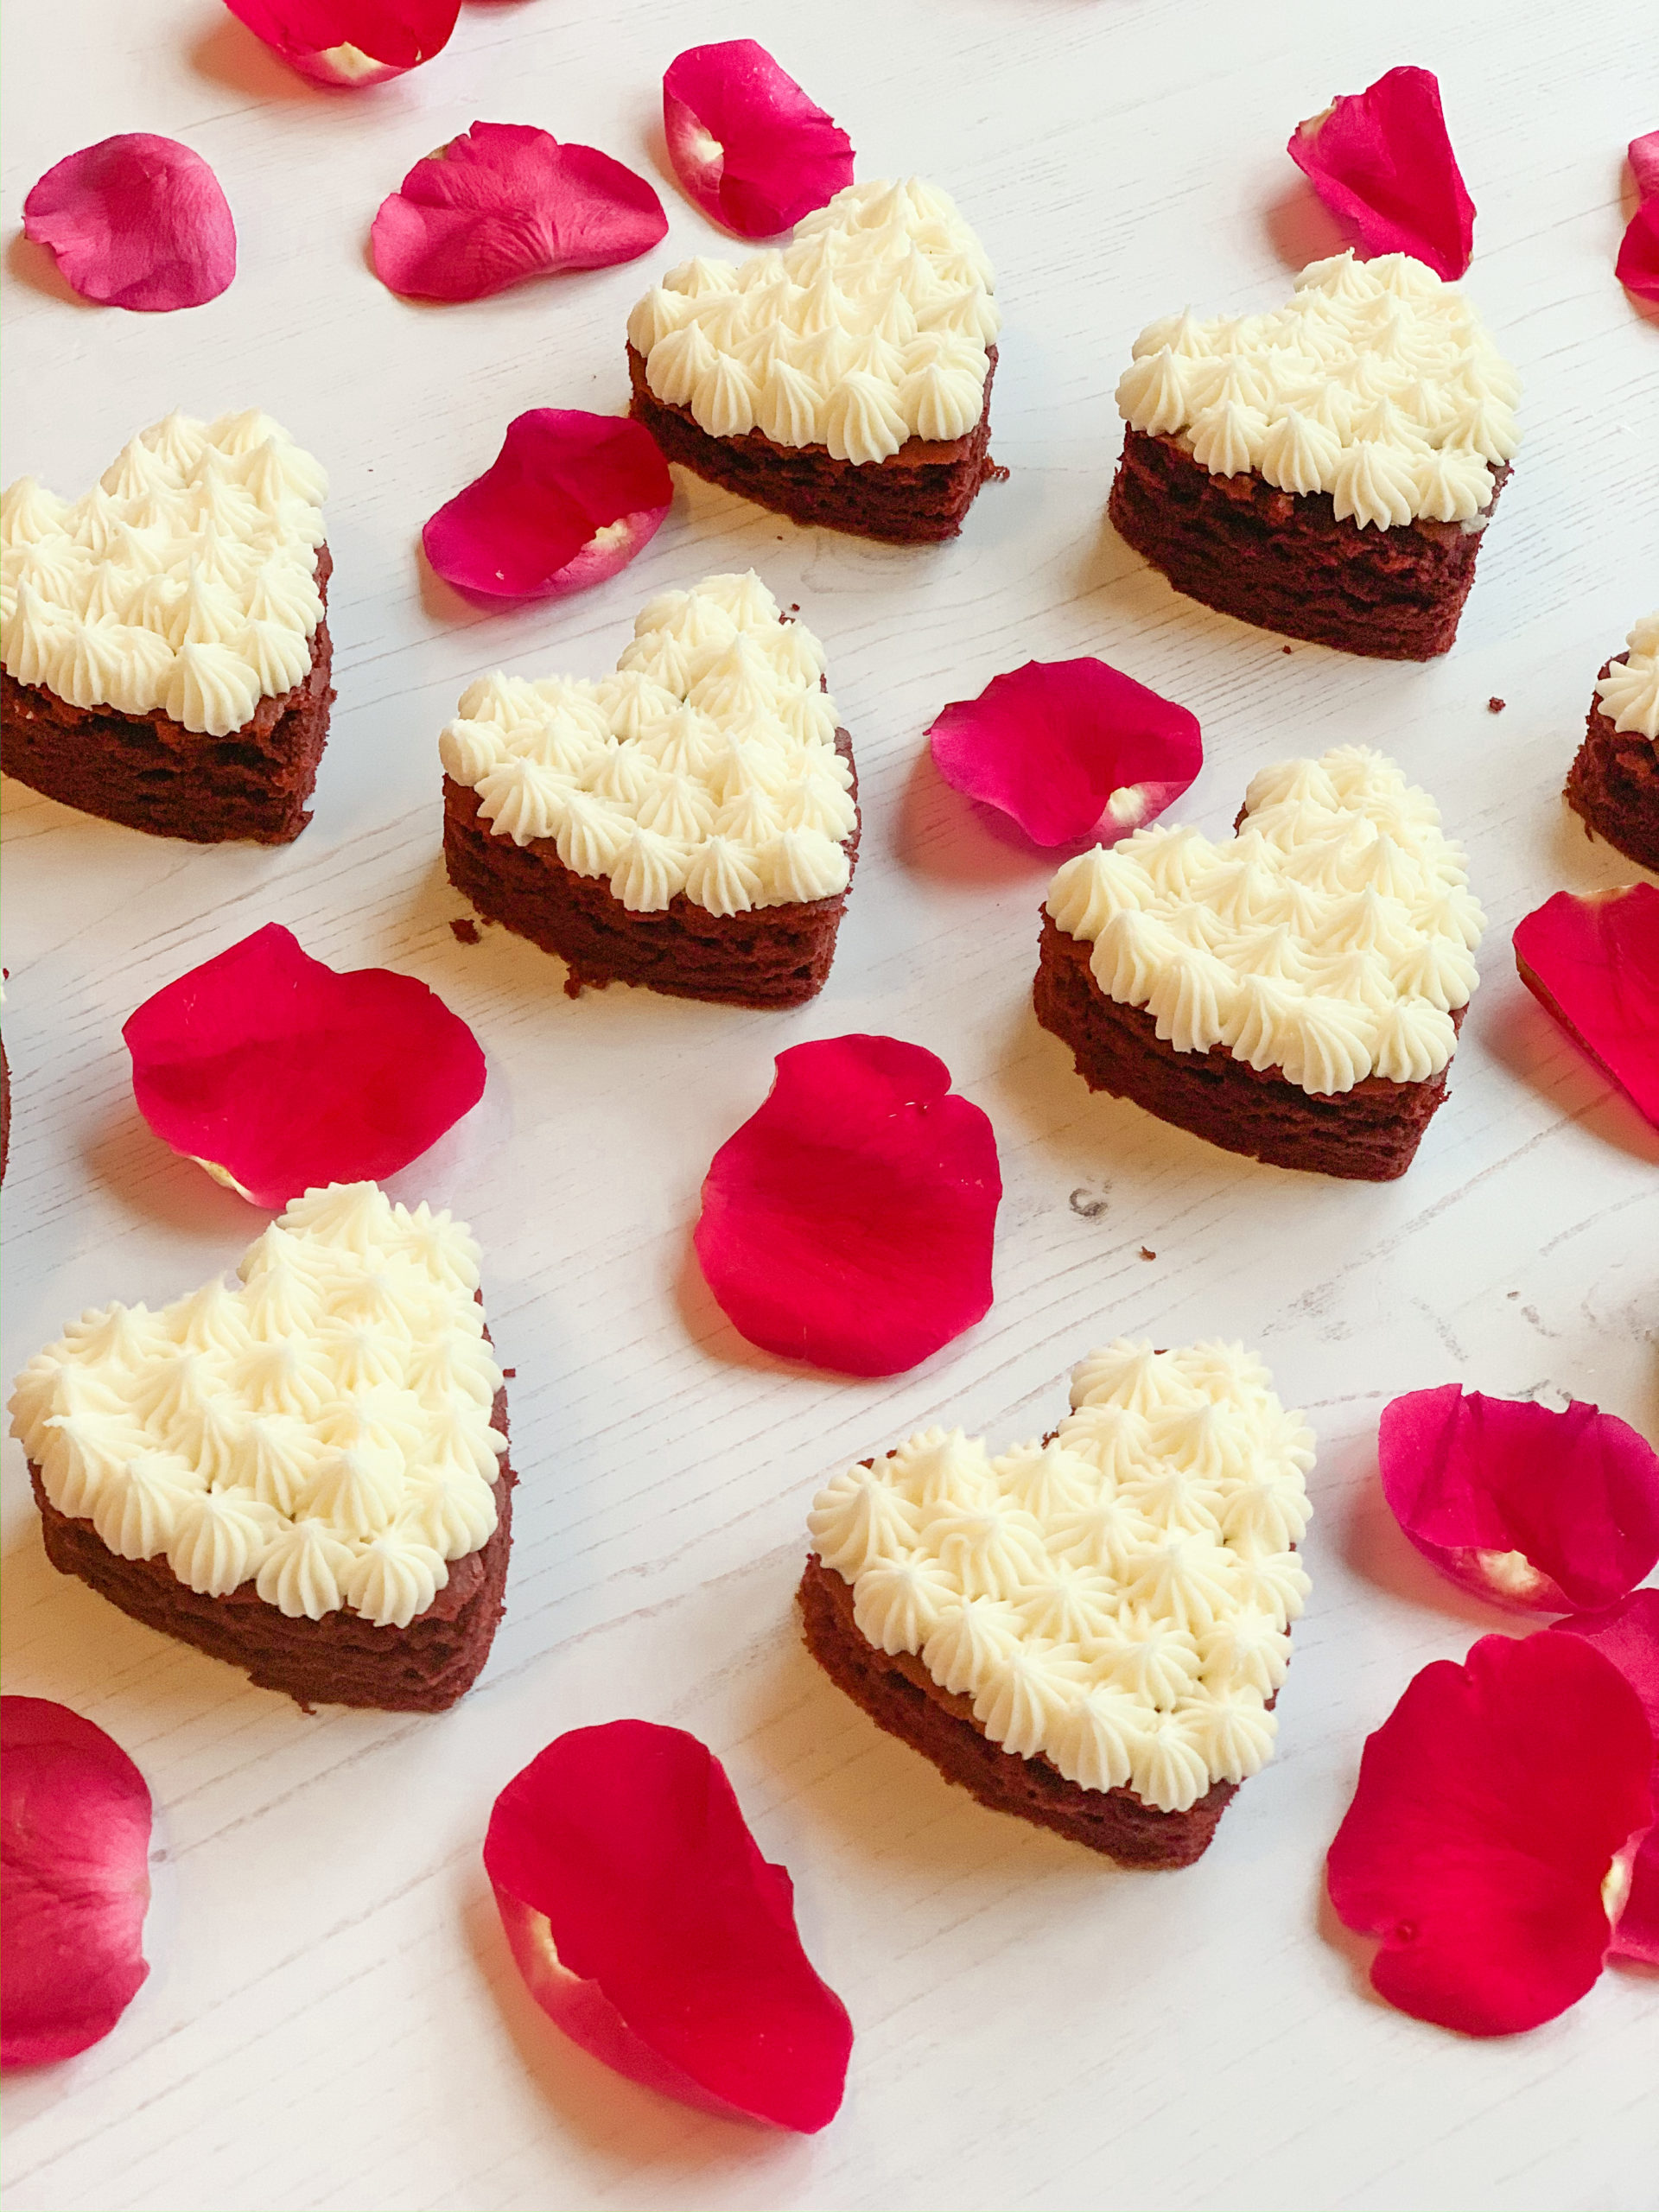
Valentine's Day Red Velvet Cakes
Difficulty level: Medium
Jump to recipe
Servings
12
Prep Time
15 minutes
Cooking/Baking Time
25-30 minutes
Ingredients

 For the cake batter

2 oz. margarine, room temperature

8 oz. caster sugar

12 oz. self-raising flour

3 tbsp. unsweetened cocoa powder

2 tsp. baking powder

10 fl. oz. milk

1 tsp. vanilla extract

2 eggs

3-4 tbsp. liquid red food colouring (preferably Dr. Oetker)

For the cream cheese frosting

2 oz. unsalted butter, softened

4oz. cream cheese, chilled

couple drops vanilla extract (optional)

16 oz. (or 1 lb.) icing sugar, sifted

Method
  1. Preheat oven to 180º Celsius and line a 13in x 9in baking tray with non-stick baking paper. 
  2. In a mixing bowl, cream together the margarine and sugar until pale and fluffy. Sift in together the flour, cocoa powder, and baking powder into the mixing bowl. Add the remaining ingredients then mix until fully incorporate scraping the bottom and sides of the bowl. The result should be smooth, velvety batter.
  3. Gently pour the batter into the lined baking tray. Tap the tray on the kitchen surface about three times to release any air bubbles.
  4. Bake in the centre of the oven for 25-30 minutes or until a toothpick inserted comes out clean. Once baked, remove the oven and leave to cool completely on a wired rack.
  5. Make the frosting by creaming the butter with the back of a wooden spoon until soft and velvety. Add the cream cheese and whisk until combined. Next, add the vanilla extract the icing sugar. Whisk until smooth and creamy. Cover and set aside.
  6. Once the cake has cooled, use a heart shaped cookie cutter to cut out around 12 hearts. (Discard the off cuts or use them to make cake pops or crumble on top of icecream).
  7. Spoon the frosting into a piping bag fitted with a Wilton 32 piping nozzle. Twist the top and them apply pressure to piping bag to create the patterns on the cakes starting from the outside and working your way to the middle. (Alternatively, you can spread the frosting with a knife or the back of a metal spoon).
  8. Enjoy!

Your Photos

I'd love to see how you've made it! Tag me on Instagram @neyskitchen.official  with #neyskitchenofficial or contact me to submit your photos.

Sign Up
Get exclusive info from recipes to photography tips

    magnifiercrosschevron-down