Gluten Free Chocolate Cake
Difficulty level: Medium
Jump to recipe

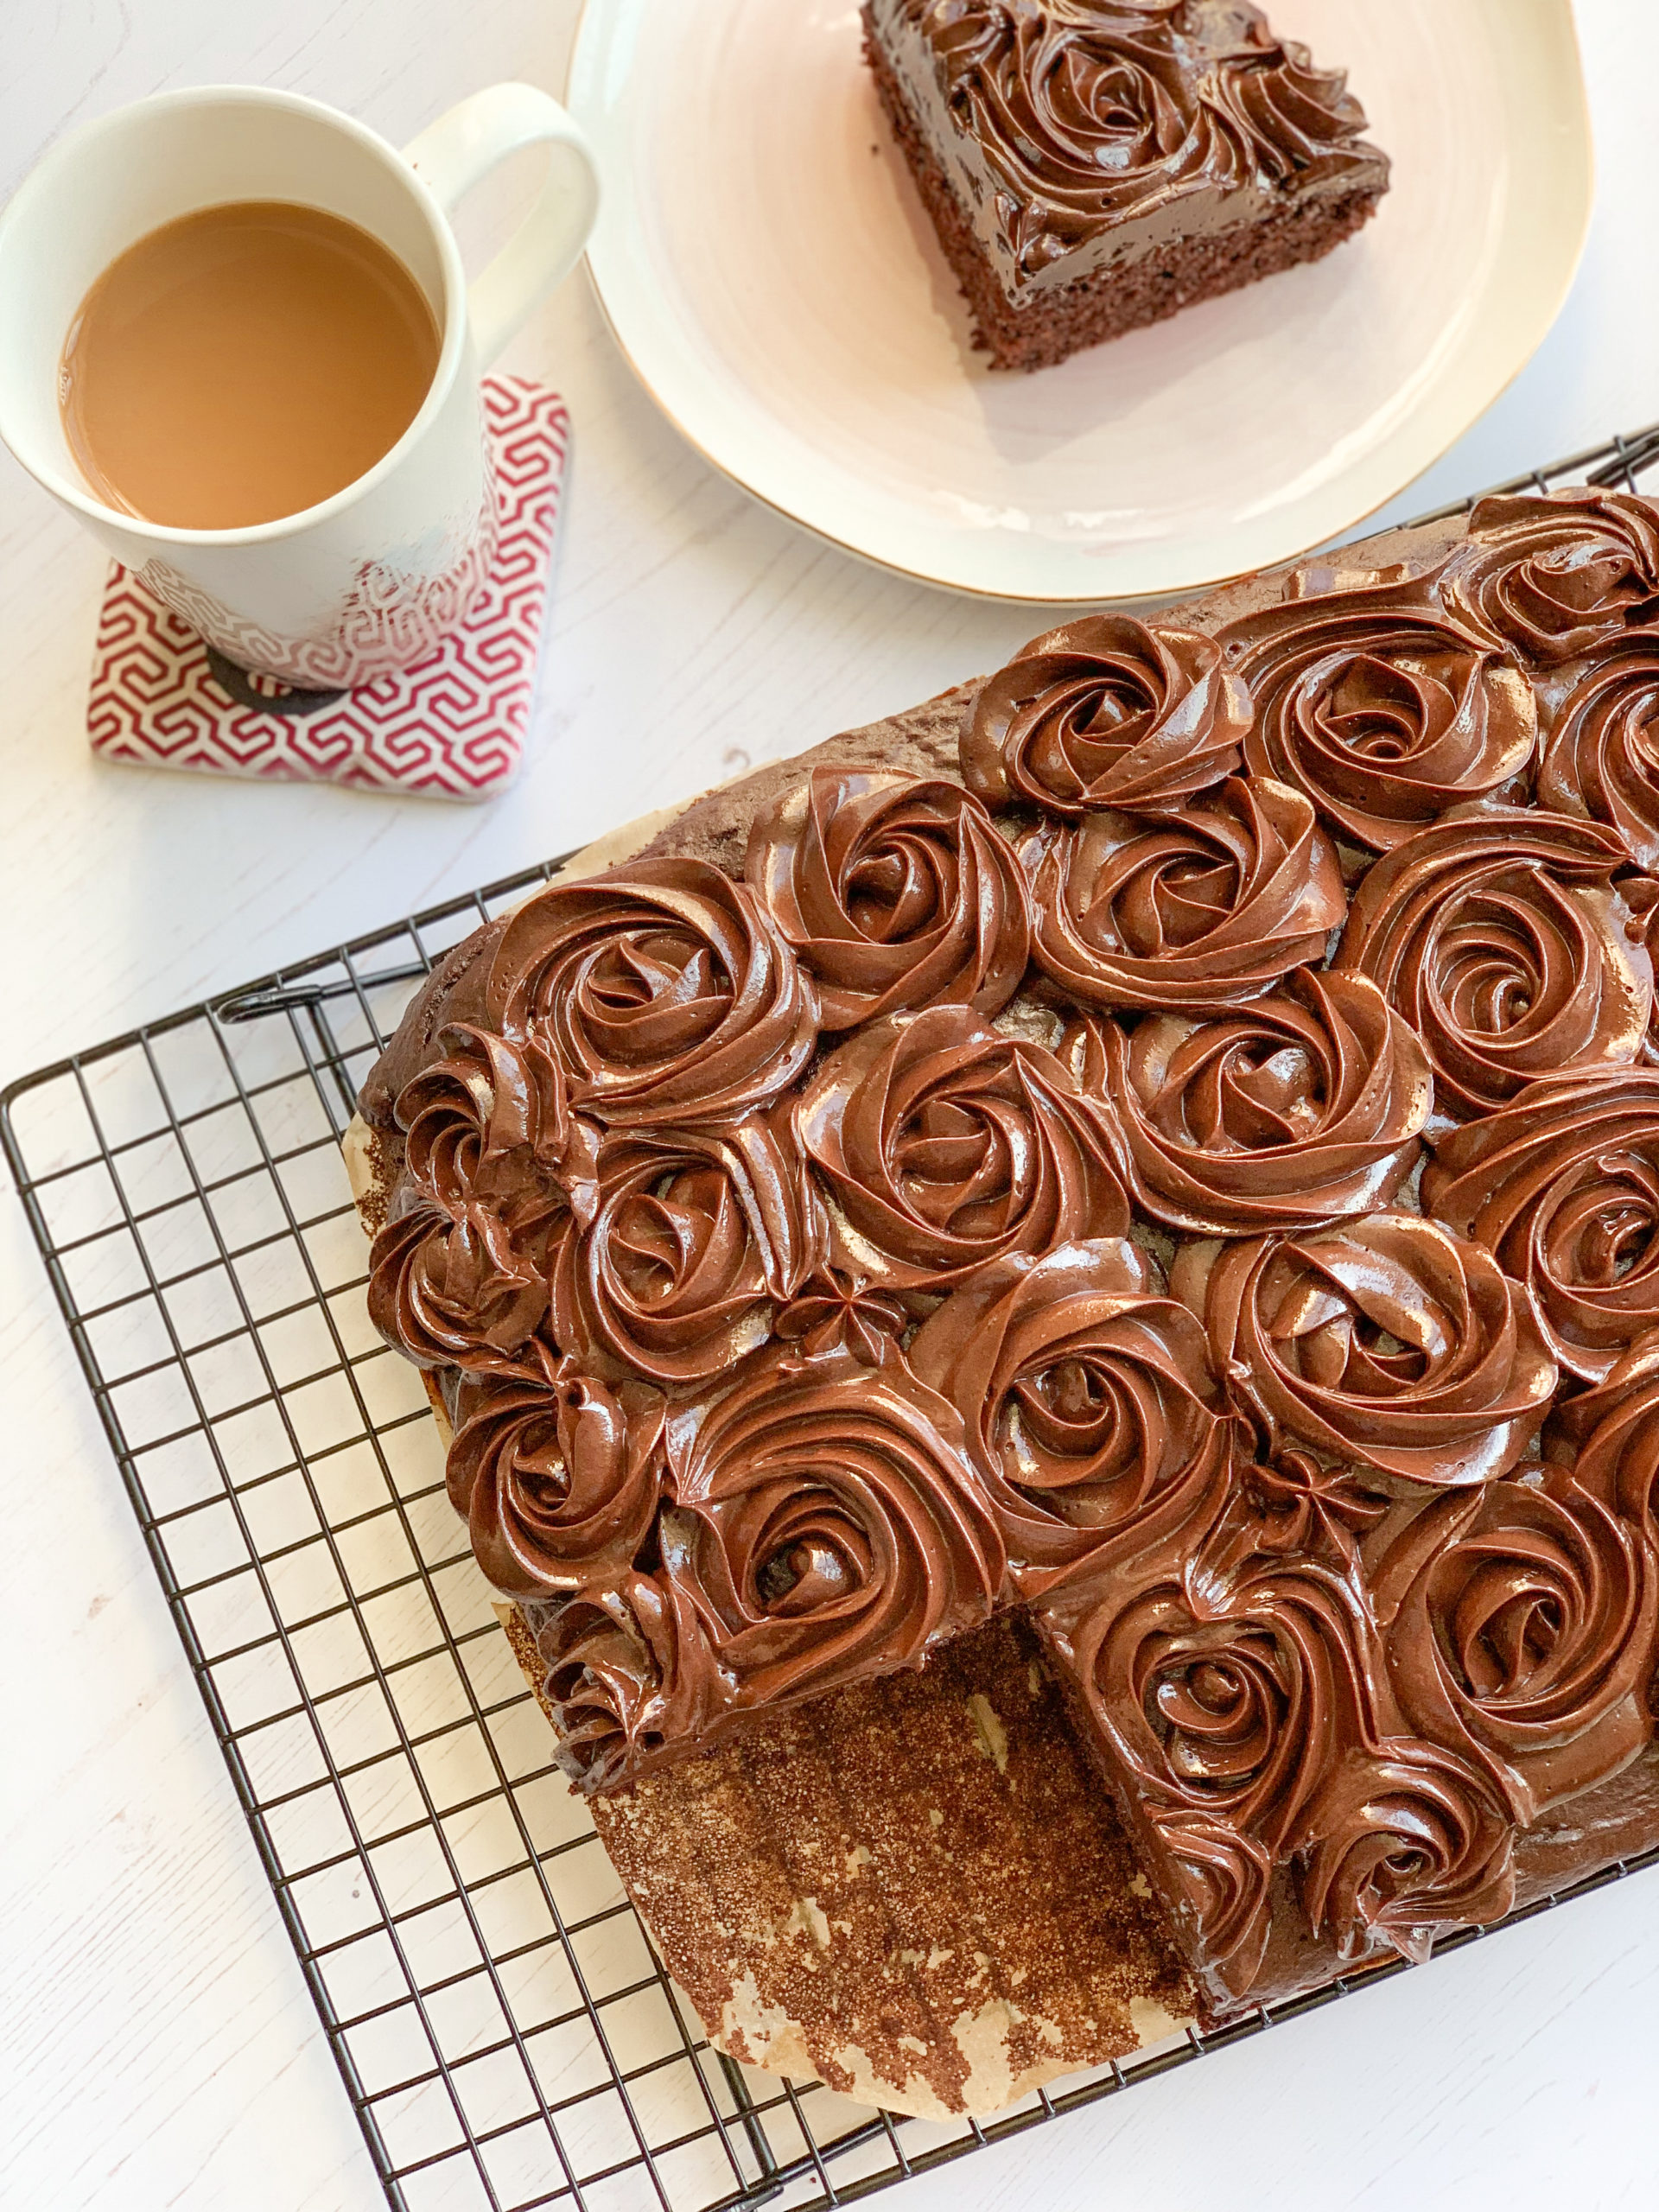
This is such a moist chocolate cake. Usually gluten free cakes taste very dry and gritty (well at least the ones I've eaten), however, this is absolutely delicious and it's sure to impress your friends and family.

Servings
12
Prep Time
20 minutes
Cooking/Baking Time
30-35 minutes
Ingredients

For the cake
8 oz. gluten-free self-raising flour
1 tsp. bicarbonate of soda
2 tsp. xanthan gum (available at Waitrose & Partners or any large store)
2 oz. cocoa powder
8 oz. coconut sugar (or you can use golden caster sugar)
4 fl. oz. buttermilk
2 eggs
1 tsp. vanilla extract
8 oz. unsalted butter, room temperature
8 fl. oz. water

For the buttercream
12 oz. unsalted butter, room temperature
8 tbsp. unsweetened cocoa powder
8 tbsp. creamed honey or set honey
1 tsp. vanilla extract

Method
  1. Preheat oven to 180º Celsius and line a deep 12" x 10" baking tray with baking paper. 
  2. Place the water and butter together in a pot over a medium heat. Melt the butter completely and stir frequently. Set aside. 
  3. In a large mixing bowl, sift in the flour, bicarbonate of soda, xanthan gum, and cocoa powder. Stir in the sugar. 
  4. Add the buttermilk, eggs, and vanilla into the large mixing bowl. Mix until slightly incorporated. While whisking, slowly pour in the warm butter-water liquid. Mix until thoroughly combined and the batter comes smooth and glossy. 
  5. Pour the batter into the prepared tray and bake in the oven for 30-35 minutes or until a toothpick inserted comes out clean. 
  6. Once baked, remove from the oven and leave to cool on a wired rack for a few minutes. Once cool enough to handle, remove the cake from the tray and leave to cool completely on the wired rack.  
  7. In a mixing bowl, whisk the butter until fluffy. 
  8. Sift in the cocoa powder, add the honey and vanilla extract. Whisk until smooth and creamy. (If the frosting is too runny or soft, leave in the fridge for few minutes). 
  9. Spread or pipe the buttercream on to the cake. 
  10. Slice the cake into 12 portions and ENJOY!

Your Photos

I'd love to see how you've made it! Tag me on Instagram @neyskitchen.official  with #neyskitchenofficial or contact me to submit your photos.

Sign Up
Get exclusive info from recipes to photography tips

    magnifiercrosschevron-down