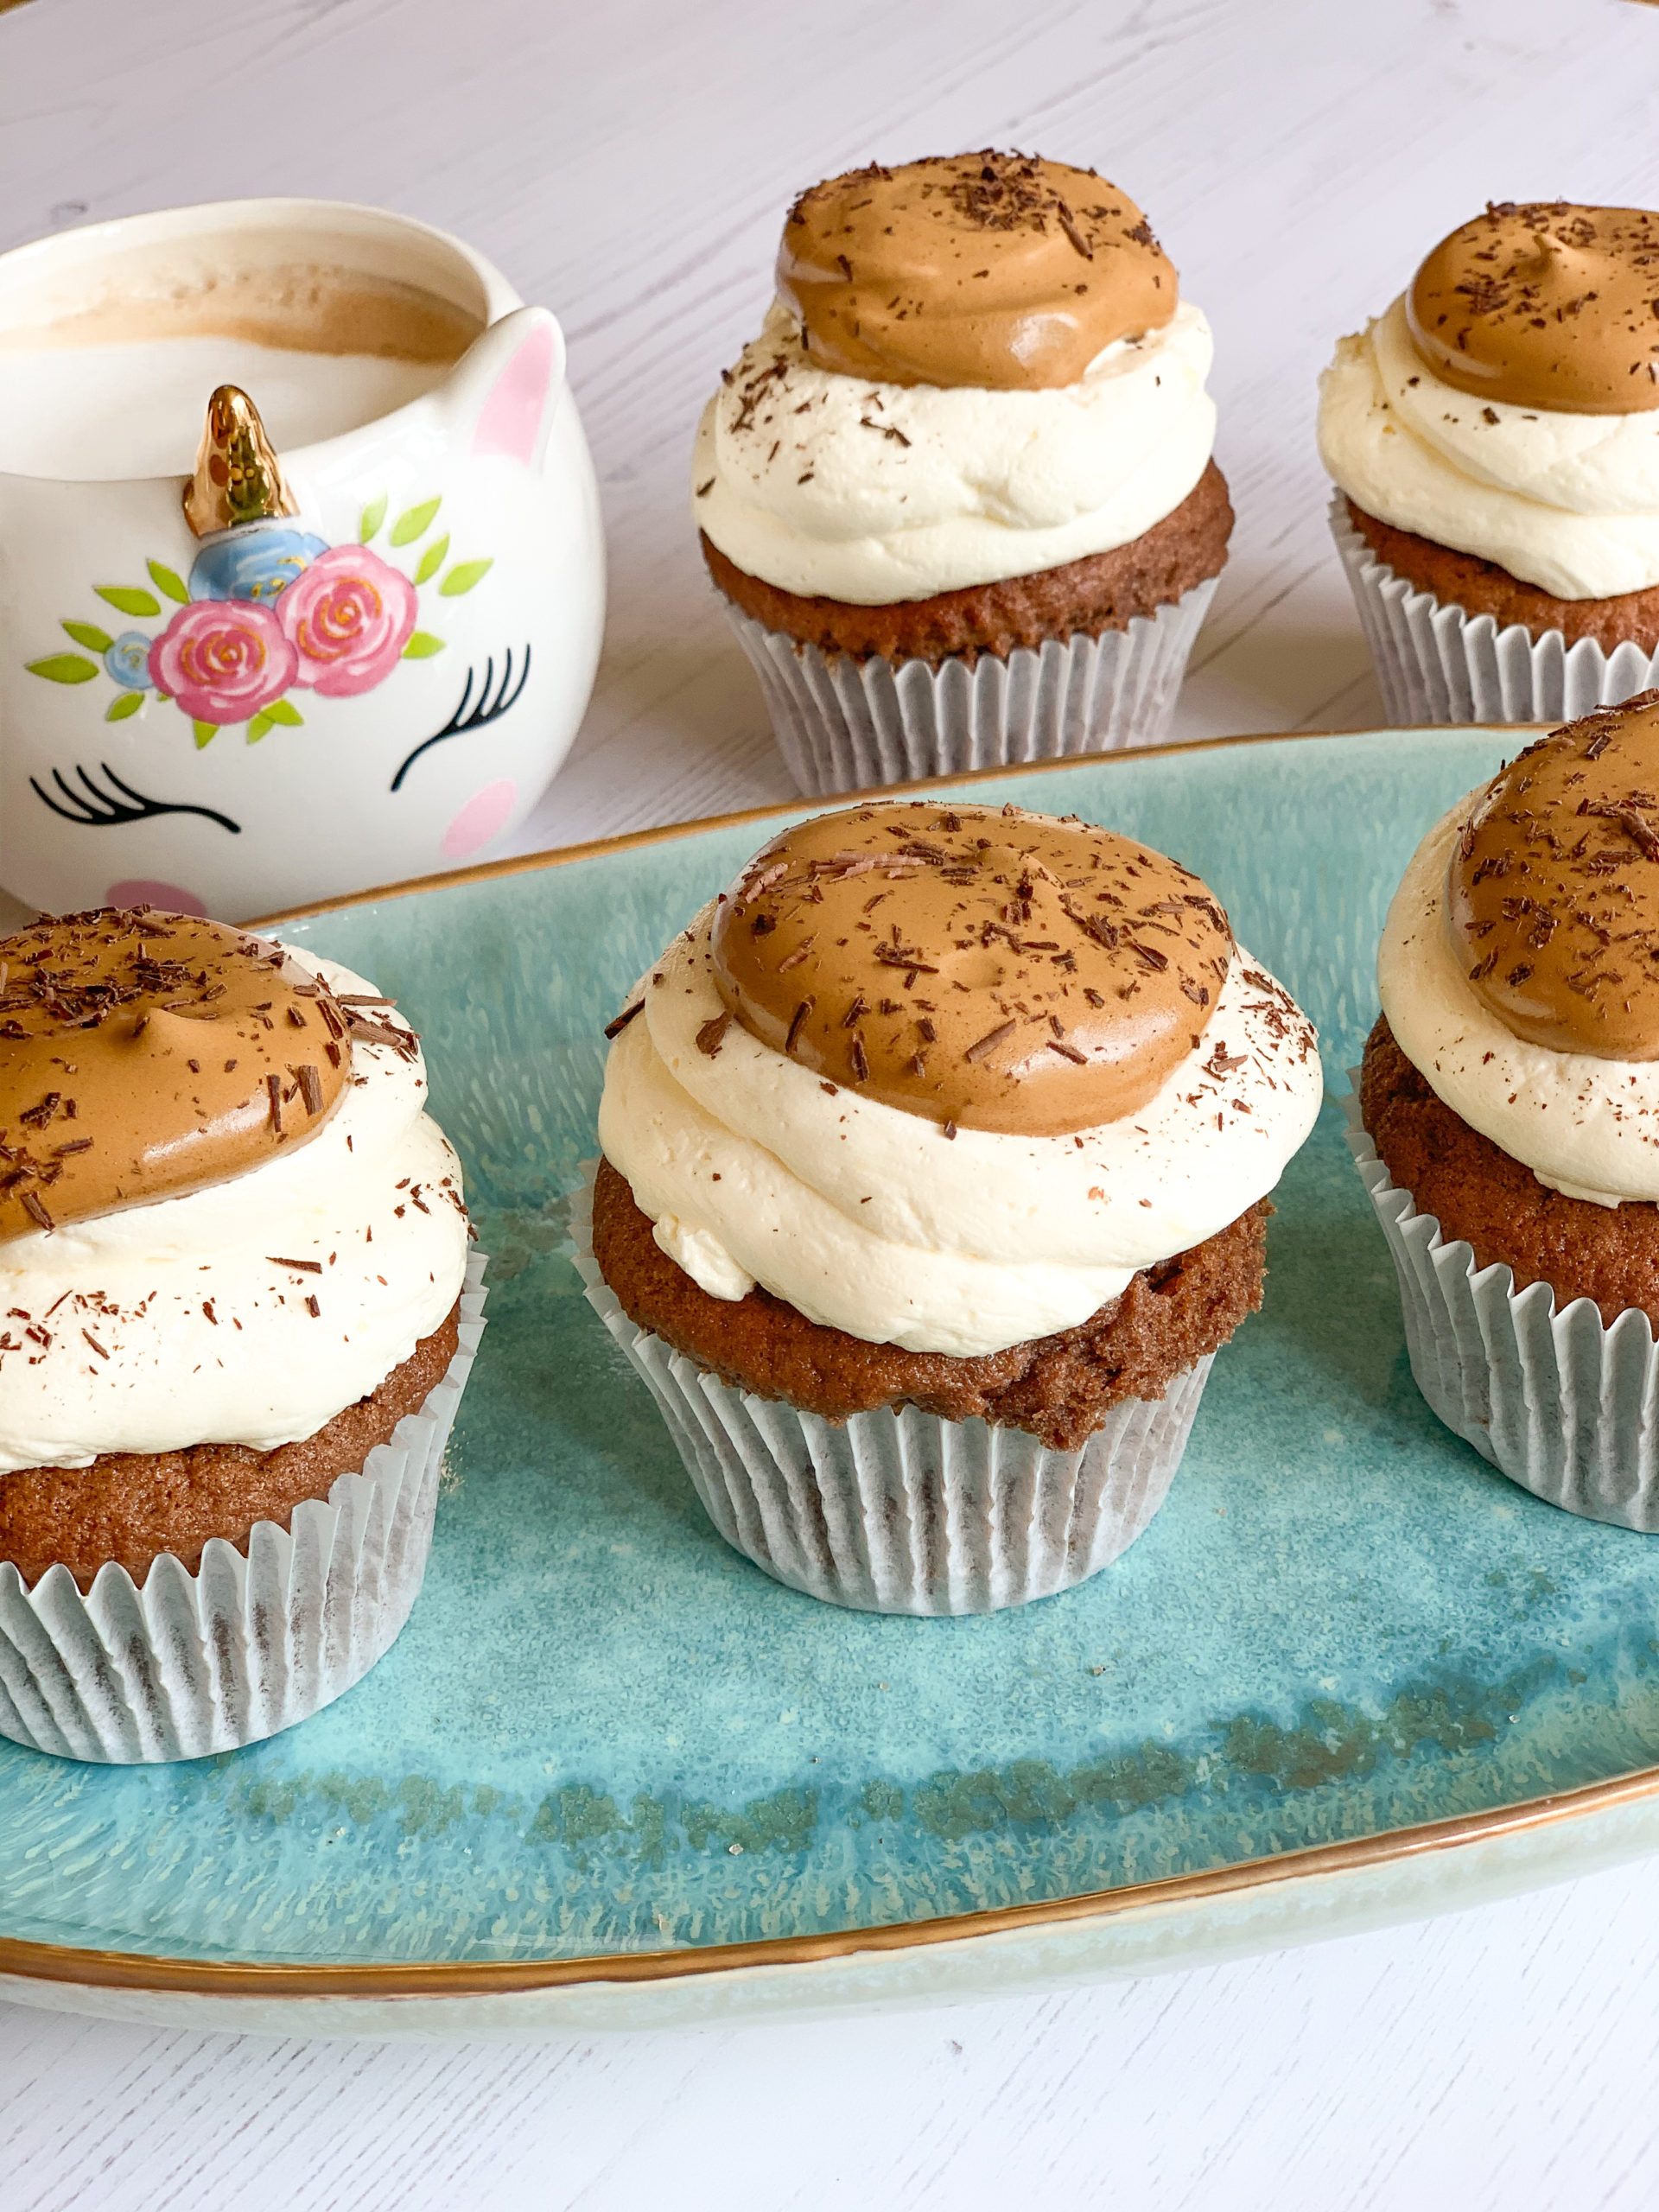
Dalgona Coffee Cupcakes
Difficulty level: Medium
Jump to recipe

Remember the Dalgona coffee craze? The South Korean coffee drink that social media was going gaga for back in 2020? Well, I decided to take it one step further and turn that recipe into cupcakes.

Personally, I found the drink a bit too sickly and the foam was a bit much. However, I was convinced the coffee foam would be perfect as a topping on a cupcake. Was I right? Oh yes! The bitterness of the coffee foam balances perfectly with the light, silky and sweet Swiss meringue buttercream followed by the fluffy chocolate cupcakes.

Don't be alarmed about the Swiss meringue buttercream. I promise it isn't complicated to make and doesn't require too many ingredients or uber fancy equipment. 

Fun fact: The drink actually originates from India, Pakistan, and Macau, where it is also known as whipped coffee or beaten coffee. Its surge in popularity happened when it appeared on a Korean TV show called Pyunstorang in January 2020. In it, actor Jung Il-Woo traveled to Macau, tried the drink, and gave it the nickname dalgona for its resemblance to the traditional Korean sponge candy of the same name. 

Servings
6
Prep Time
15 minutes
Cooking/Baking Time
18-20 minutes
Ingredients

For the cupcakes

2 oz. margarine

4 oz. golden caster sugar

4 oz. self-raising flour

2 tbsp. cocoa powder

1 tsp. baking powder

¼ pt. milk

1 tsp. vanilla extract

1 egg

For the Swiss meringue buttercream

2 eggs whites

5 oz. white caster sugar

7 oz. unsalted butter, softened and cut into small chunks

½ tsp. vanilla extract (optional)

For the coffee foam

2 tbsp. instant coffee

2 tbsp. white granulated sugar

2 tbsp. boiling water

Chocolate shavings to decorate (optional)

Method
  1. Preheat oven to 180º Celsius. Line a muffin tray with 6 paper muffin cases.
  2. Cream together the margarine and the sugar in a mixing bowl until pale and fluffy. Sift in the flour, cocoa powder, and baking powder, then mix in the milk and vanilla extract. Next, thoroughly mix in the add until you have a smooth batter, scraping the sides and bottom of the bowl ad you go.
  3. Pour or scoop the mixture in each cupcake case a little over halfway and then bake in the oven for 18-20 minutes or until a toothpick comes out clean when inserted into the centre of the cupcakes.
  4. Remove the ready cupcakes from the oven and leave to cool on a wired rack for 15 minutes or until its safe enough to remove the cupcakes from the pan. Once the cupcakes have been removed from the pan, leave to cool completely on the rack.
  5. In the meantime, make the buttercream by placing a heatproof mixing bowl over a pan of simmering water. (Make the sure the bowl doesn’t touch the water). Add the egg and sugar and mix with a balloon/hand whisk until combine. Continue to gently mix for 3-4 minutes or until the sugar has completely dissolved. To test when the sugar is dissolved, rub a little of the mixture between your fingers – it should be smooth and not feel gritty.
  6. Remove the bowl from the heat and, using an electric whisk on a medium speed, whisk until the mixture becomes white, glossy and starts to form stiff peaks. This could take 10-15 minutes.
  7. Next, add the butter a piece at a time whilst still whisking on a medium speed. Ensure each piece of butter is fully incorporated before add more. Next, whisk in the vanilla. Continue to whisk until smooth and silky.
  8. Using a piping bag fitted with a large plain tip nozzle, pipe the buttercream on to the cupcakes using circular motions.
  9. Make the coffee foam by combining all the ingredients until the granules are dissolved. Next whisk for 10 minutes or until it resembles whipped cream. Either spread or pipe the foam on top of the cupcakes. Sprinkle some chocolate shavings and enjoy!

Your Photos

I'd love to see how you've made it! Tag me on Instagram @neyskitchen.official  with #neyskitchenofficial or contact me to submit your photos.

Sign Up
Get exclusive info from recipes to photography tips

    magnifiercrosschevron-down