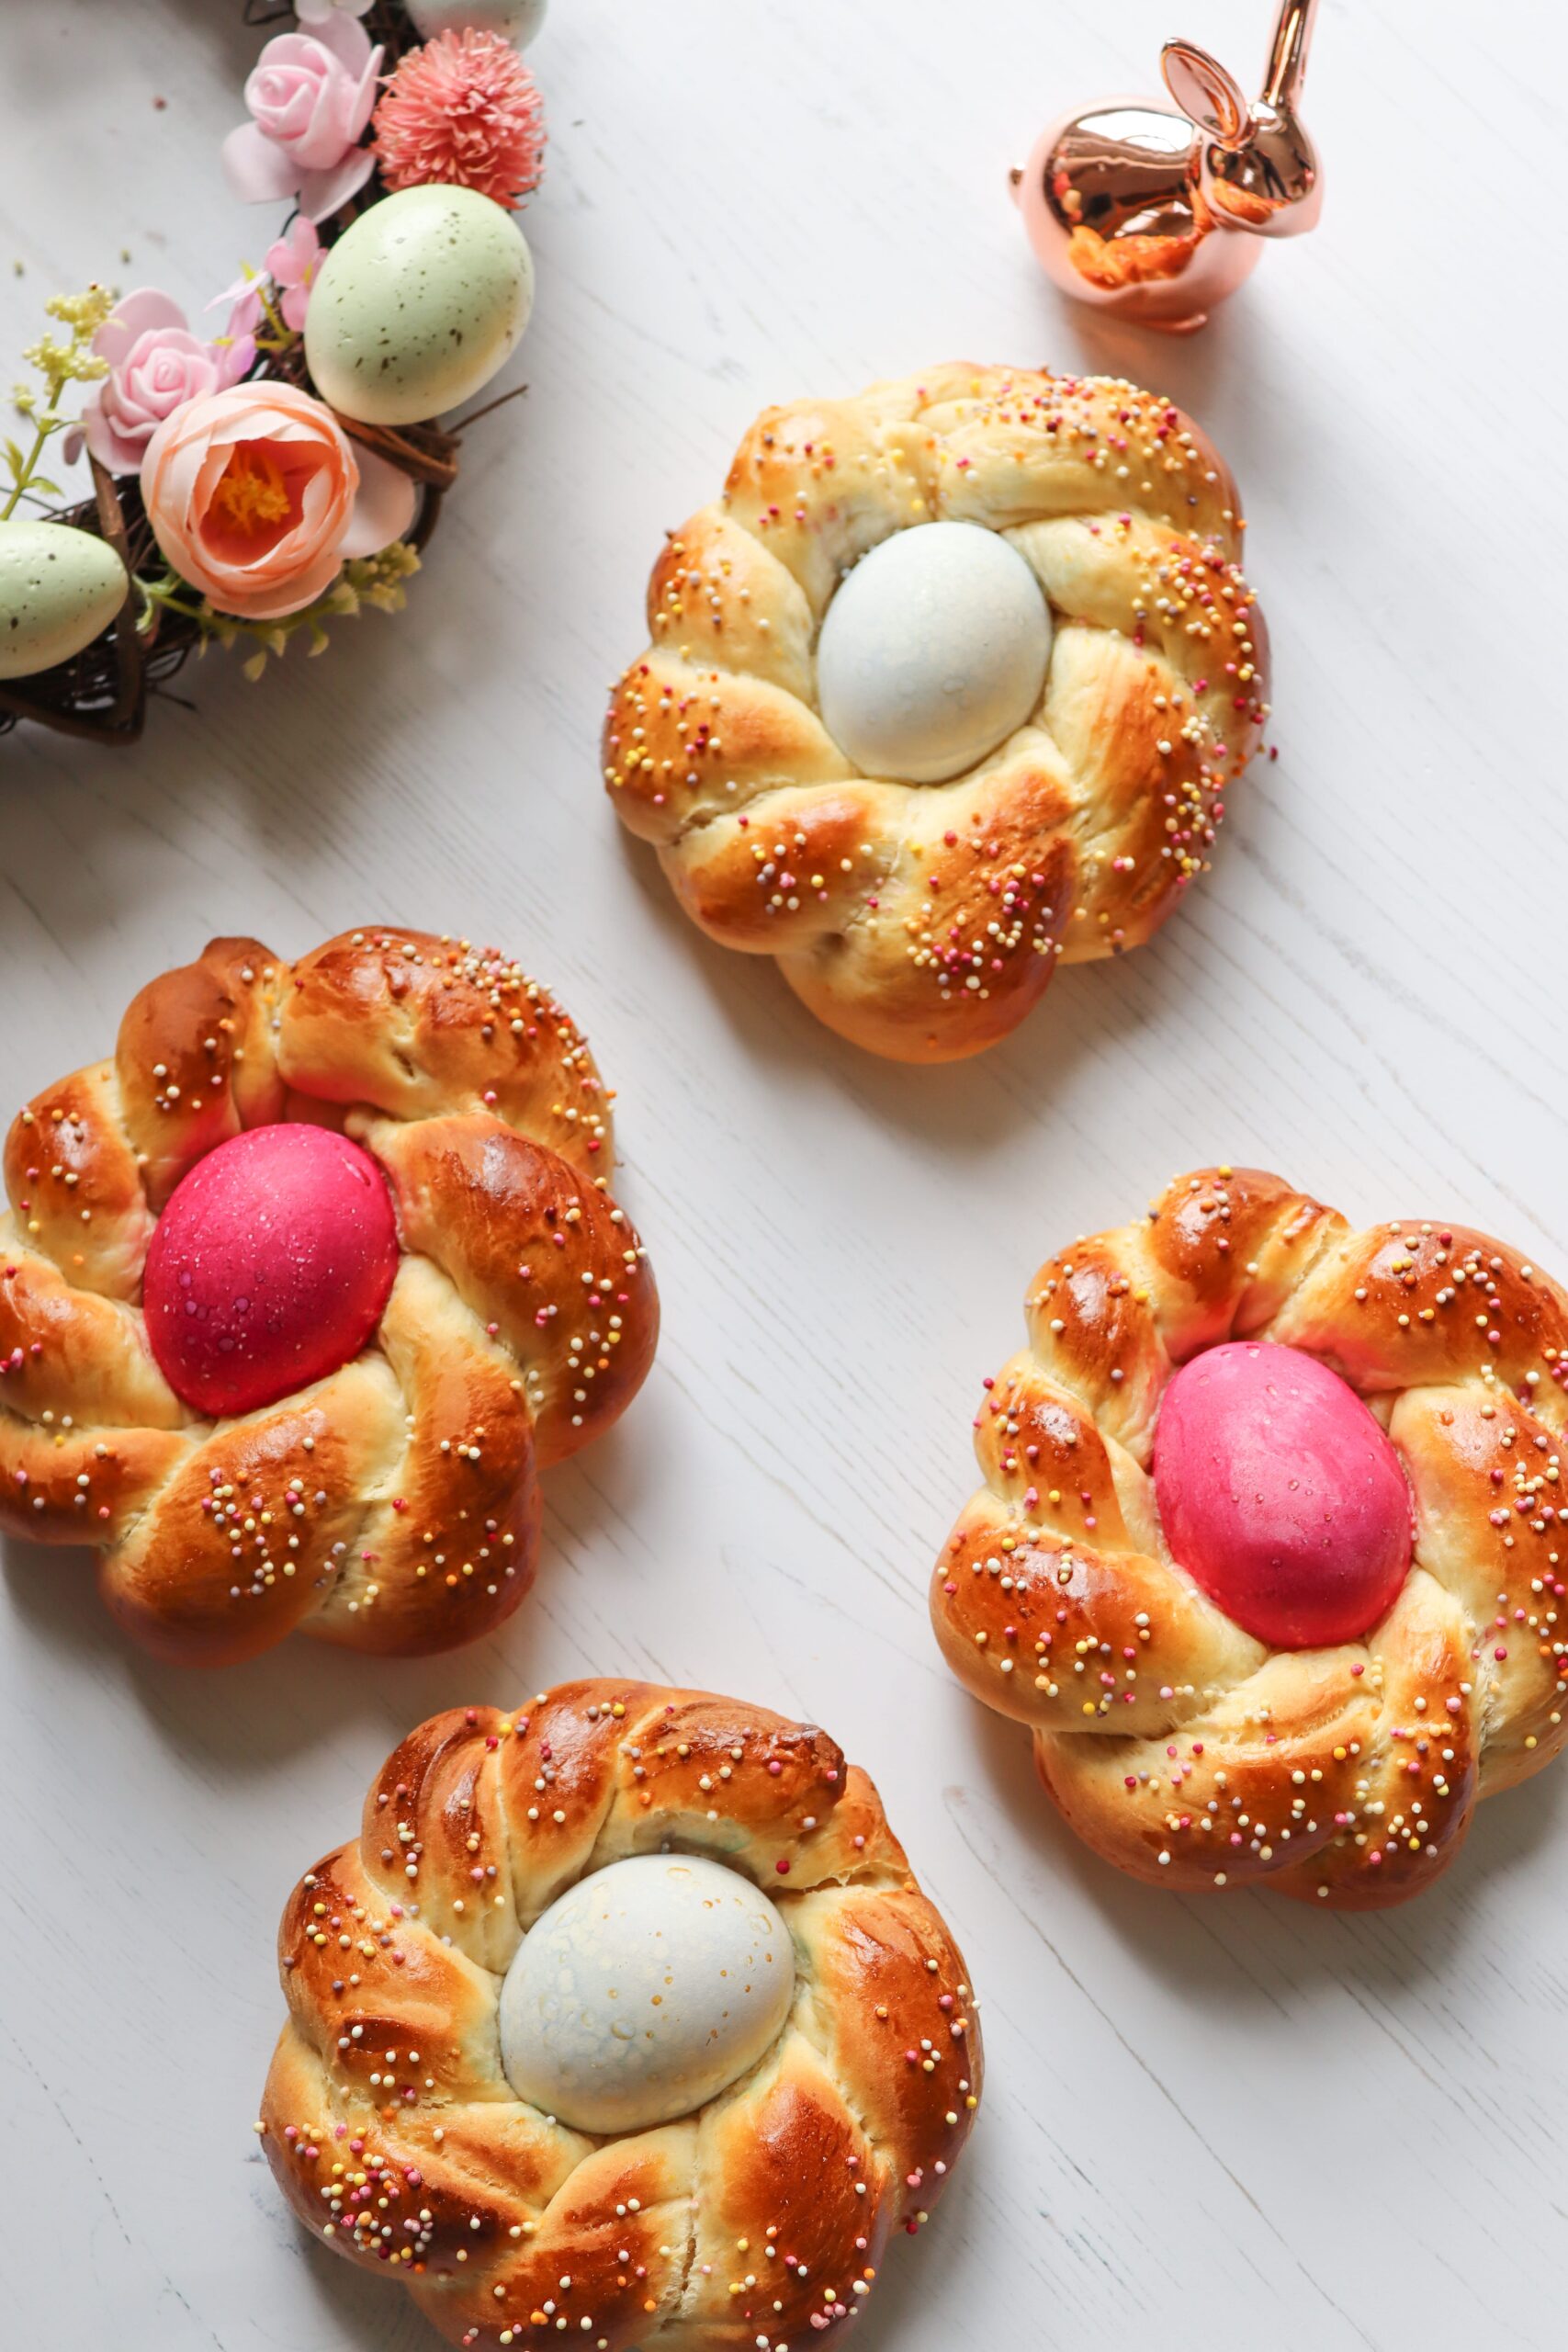
How to Dye Eggs with Food Colouring

It’s really simple and easy to dye eggs – it’s all about finding the best method that works consistently. When researching and testing how to dye eggs, I’ve found that certain recipes didn’t produce the best results and I soon learned it depends on the concentration or quality of the food colouring.

I’ve found that liquid food colouring takes longer to dye the eggs fully and when used in a baked recipe, the colours fade.

When deciding on food colouring, I highly recommend a food colouring gel. The results produce brighter and vibrant colours as gels tend to be more concentrated and it dyes your eggs quicker.

Another strong suggestion is to use distilled vinegar. Some methods say you can use lemon juice but I highly suggest the vinegar for best results.

If the eggs are not going to be used as part of a baked recipe (Like Italian Ester Bread), then boil them first before dying them. Otherwise, they can be dyed raw as they will cook with the bread and this also saves time. It’s also perfectly safe.

HERE’S WHAT YOU’LL NEED

  • Glass or plastic cups
  • Distilled white vinegar
  • Food colouring gel (choose the colours you like)
  • Water, room temperature
  • White eggs, raw or boiled (as much as the recipe requires)

METHOD

  1. Fill a glass or plastic cup with 2 tbsp. vinegar and stir in enough food colouring so that it’s a deep colour. Add ¼ pt. water and stir that well too. Using tongs or a spoon, gently place the egg into the solution.
  2. Repeat step 1 for the other eggs
  3. Check the eggs every 15 minutes until you reach the desired colour. I’ve found that leaving the eggs in for an hour works best, especially if they are going to be baked in the oven as the heat often fades them out.
  4. Next, gently removing the eggs from the liquid and place them in a bowl or container lined with (white) paper towels. The paper towels will remove the excess water. Remember to keep the colours separate when placing them in containers so that the colours don’t run into each other.
  5. Leave to dry overnight for the best results.
Sign Up
Get exclusive info from recipes to photography tips

    magnifiercrosschevron-down