Mauritian Napolitaine
Difficulty level: Easy
Jump to recipe

My earliest memories of making these was when I was four years old. I frequently made these sweet treats with my mum whilst standing on a stool because I was too short to reach the counter and roll out the dough. My favourite part of the process was icing them especially when there was a little bit leftover for me to spoon into my mouth. 

Since then, my curiosity of the baking world grew gradually and I started taking it more seriously in my mid teens.

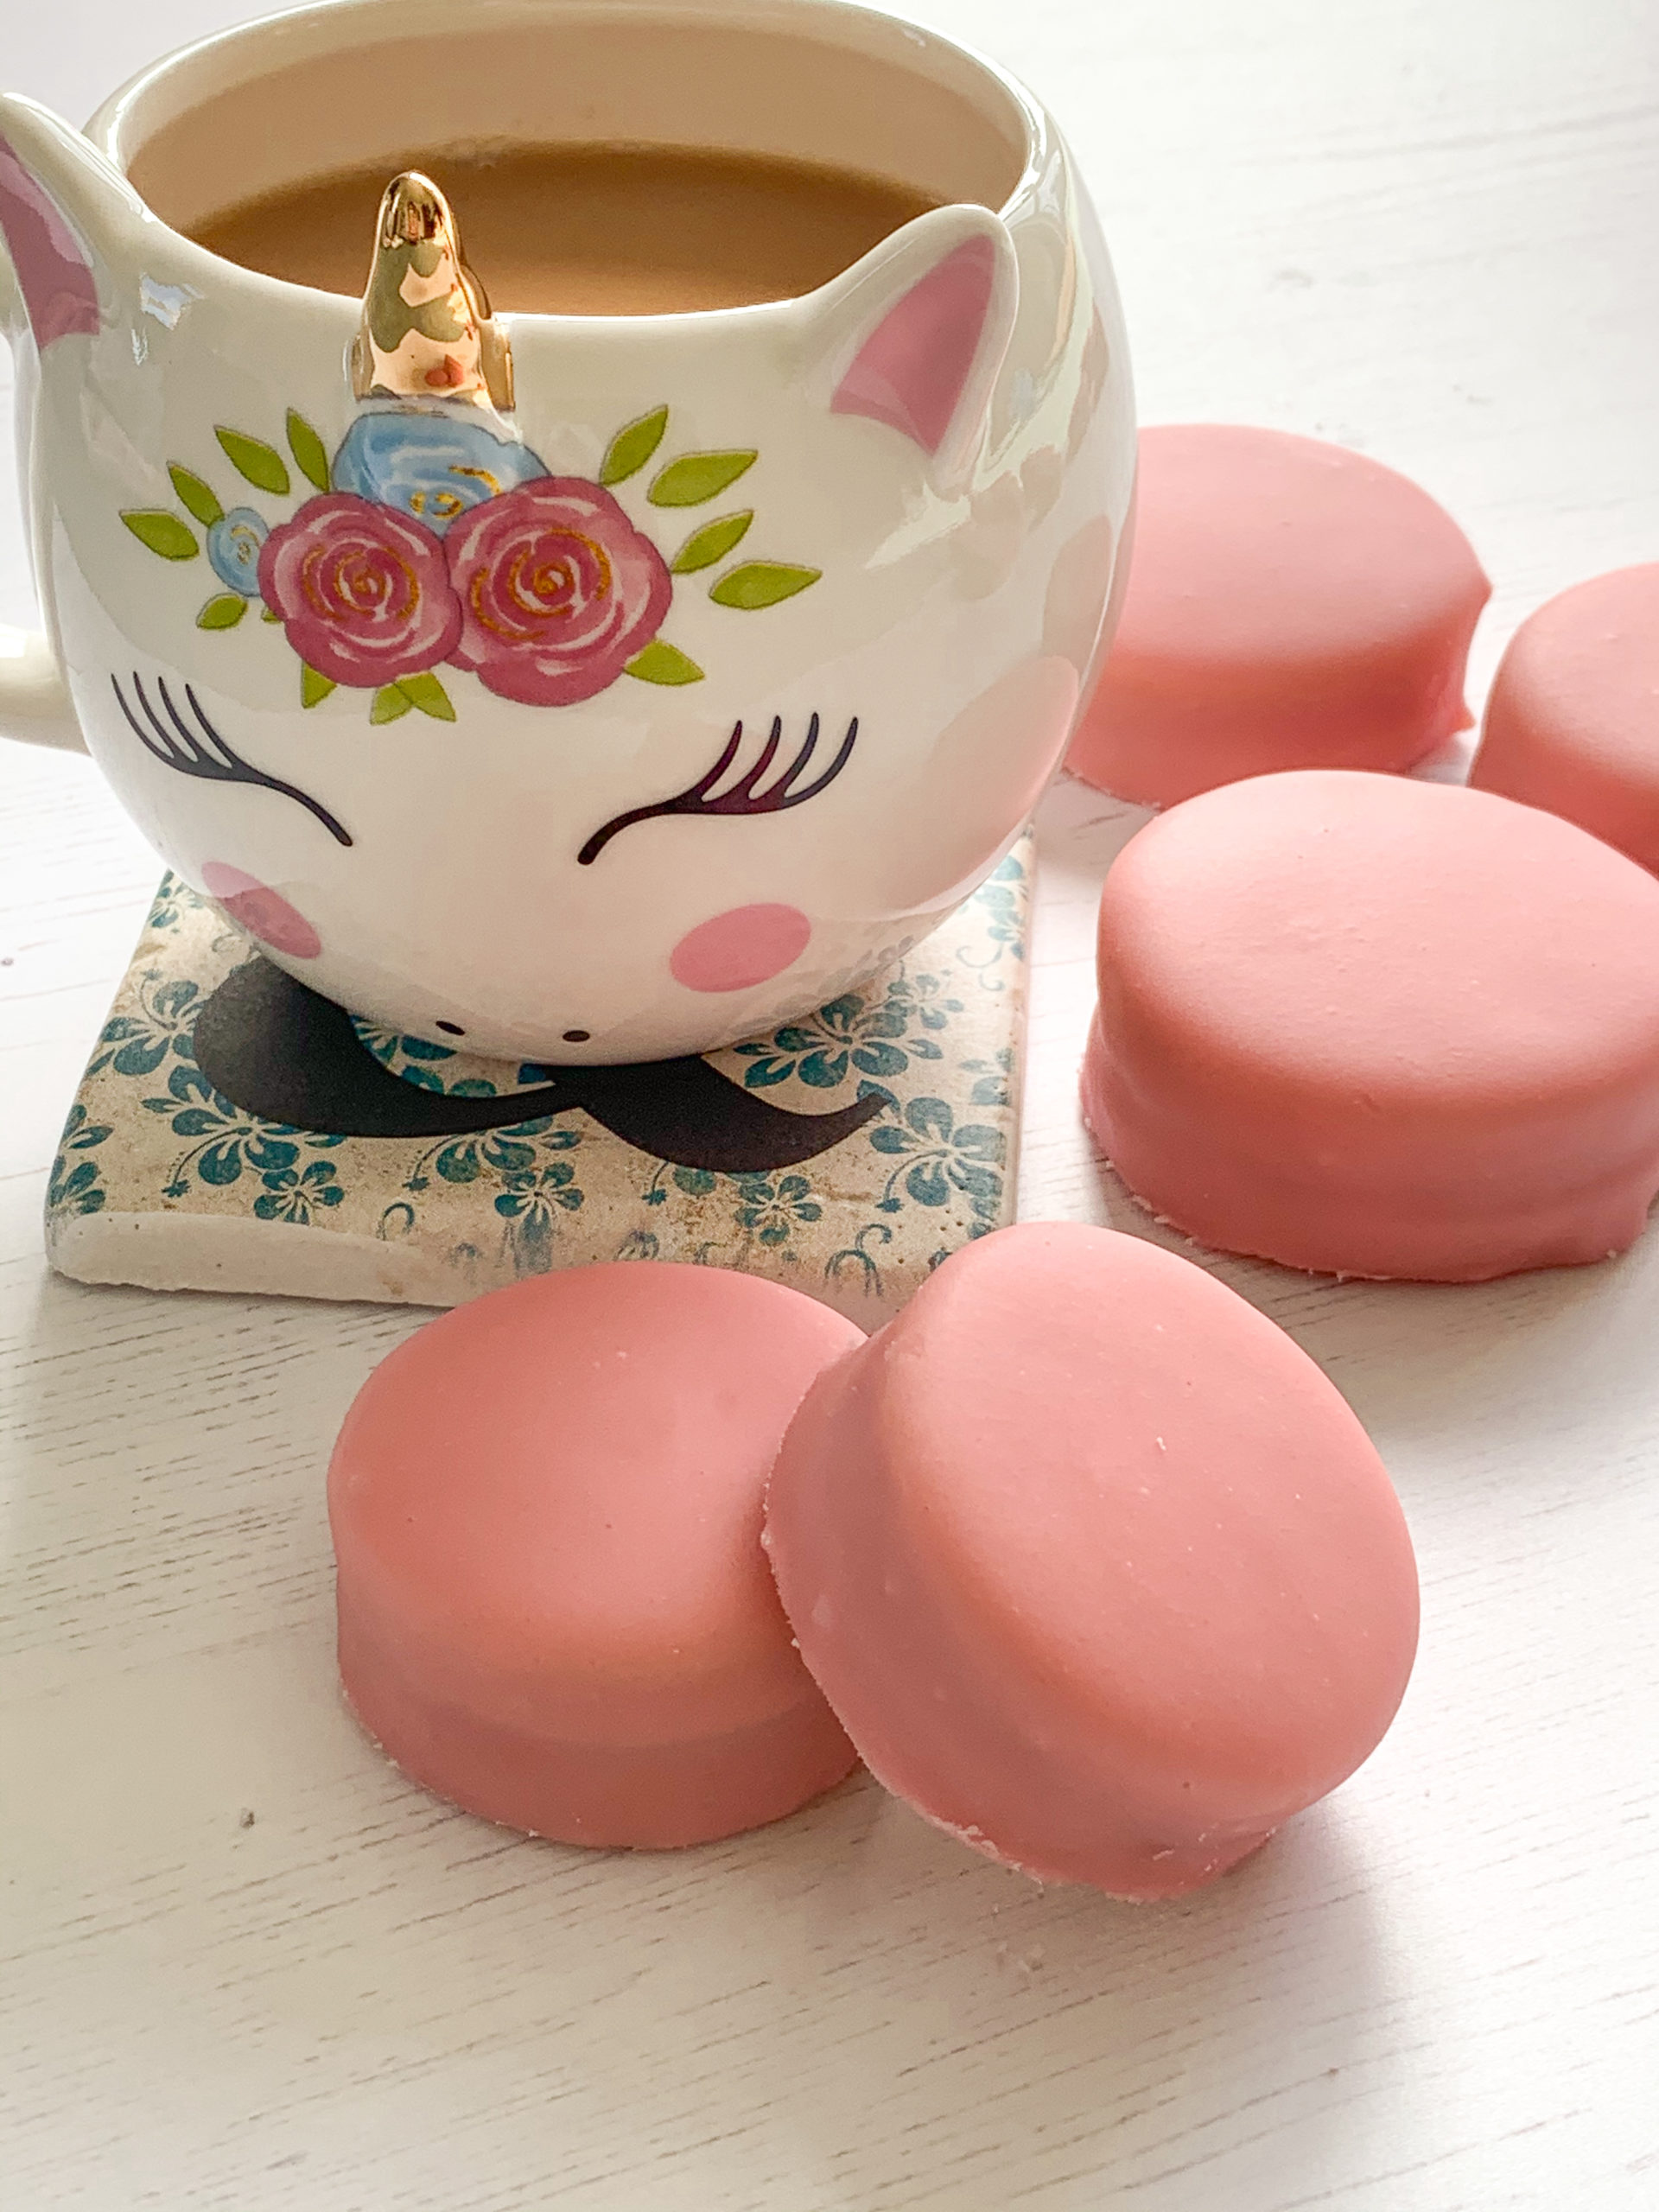
Making Napolitaine always brings back fond memories – I feel like a little kid again. 

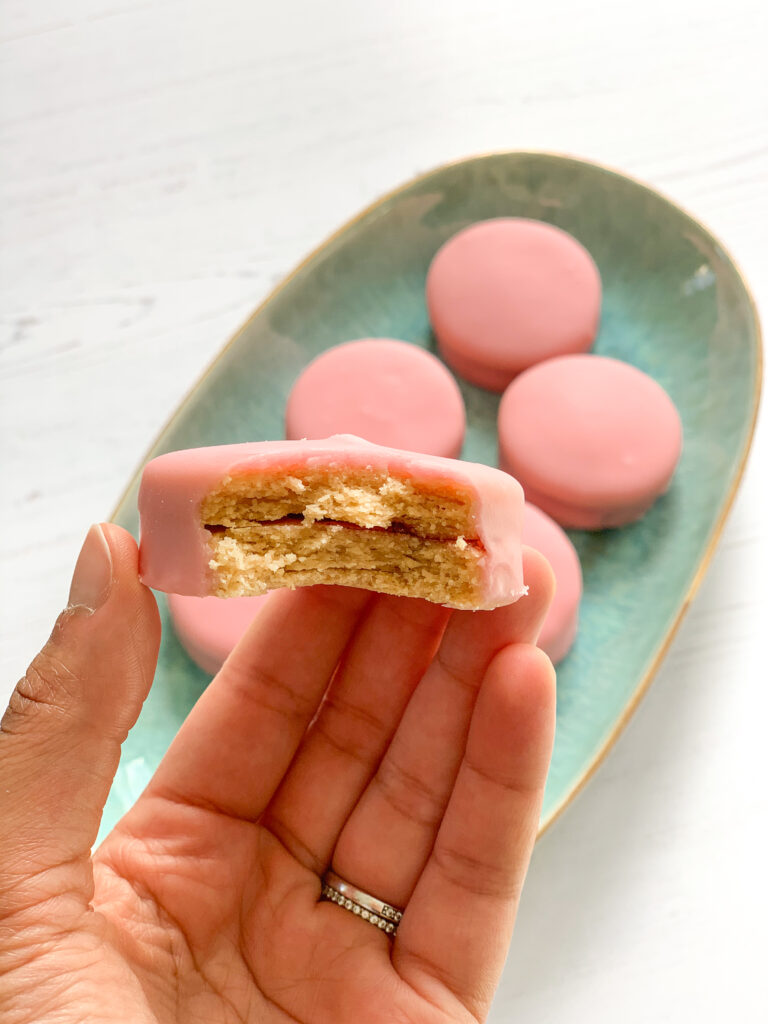
What's Napolitaine you may ask? Put simply, traditional Napolitaine is a sort of melt-in-the-mouth shortbread sandwich cookie with a strawberry jam filling which is then covered fully in pink icing.

There are also variations of this popular Mauritian treat, from coating it with shredded coconut to topping them with chopped nuts.

The origin of Napolitaine, but it would have been influenced by the French who settled in Mauritius during the 1700's. I'm speculating that Napolitaine got its name in honour of the French emperor Napoleon Bonaparte (1769 -1821), quite similar to how the Victoria Sponge Cake was in honour of Queen Victoria of England. However, I'm unsure, but I'll keep researching!

In the meantime, I hope you enjoy my mum's Napolitaine recipe. I haven't altered it even in the slightest as it's perfect as it is. 

Napolitaine
Napolitaine
Servings
20
Prep Time
10 minutes
Cooking/Baking Time
40-45 minutes
Ingredients

For the cookies

1 lb. plain flour, plus extra

8-10 oz. margarine or butter, chilled and cut into chunks

For the filling 

Strawberry jam

For the icing

1 lb icing sugar, sifted

6-7 tbsp. water

1 tsp. glycerine  (optional – this gives the icing some shine)

1/4 tsp. red food colouring

Method
  1. Preheat oven to 170º Celsius. Lightly grease two large baking sheets with margarine.
  2. In a large mixing bowl, rub 8 oz. margarine into the flour until it resembles fine bread crumbs. Rub in a little more margarine until you are able to bring it together to form a firm but pliable dough.
  3. Dust a clean, flat surface and a rolling pin with flour. Divide the dough in half and roll out one half of the dough until it is sightly over ¼ inch thick. Cover the leftover dough with cling-film to avoid drying out.
  4. Cut out circles using a 2-inch round cutter then use an offset spatula to gently transfer them on the baking trays with some space inbetween. They won't spread when baking.
  5. Reroll the dough and repeat step 4 until all the dough (including the dough covered with cling-film) is finished.
  6. Bake on the top tow shelves of the oven for 45-50 minutes or until slightly golden and firm on top. (You will need to rotate the trays after 30 minutes to bake all the biscuits evenly)
  7.  Once the biscuits are baked, remove from the oven and leave to cool for 3 minutes. Once they are cool enough to handle, spread about 1/2  tsp. jam on one biscuit and then place another biscuit on top like a sandwich. Repeat this process with the other biscuits then leave them to cook completely for about 30 minutes.
  8. Make the icing by combining all the ingredients a mixing bowl, gradually adding the water a little at a time until you you reach a smooth consistency. The icing should be able to coat the back of a spoon; it should not be too runny or too thick.
  9. On a wired rack with a tray underneath, coat the biscuits with the icing using a metal tablespoon, and let the icing stop dripping before you carefully transfer them to a clean baking sheet. Reuse the icing that has dripped on to the tray by mixing it with the icing in the bowl and adding 1 tsp. water if necessary to loosen it. Repeat the process until the all the biscuits are coated.
  10. Leave to dry overnight and enjoy the next day with a cup of tea.

Your Photos

I'd love to see how you've made it! Tag me on Instagram @neyskitchen.official  with #neyskitchenofficial or contact me to submit your photos.

Sign Up
Get exclusive info from recipes to photography tips

    magnifiercrosschevron-down