Whether you are gluten/lactose intolerant or know someone who is (or are just trying to cut out gluten and dairy), I've developed this easy and delicious recipe that EVERYONE can dig into and enjoy together.
You may be thinking that gluten free bakes tend to taste sandy or gritty and crumble easily. BUT I promise this recipe will blow your mind. My husband who’s a picky eater couldn’t tell the difference and I’m pleased I’ve reached a perfect consistency!
The key ingredient in this recipe is xanthan gum, which is widely available in all the big supermarkets.
Xanthan gum is a common food additive that’s often added to foods as a thickener or stabiliser. It’s created when sugar is fermented by a type of bacteria called Xanthomonas campestris. When sugar is fermented, it creates a broth or goo-like substance, which is made solid by adding an alcohol. It is then dried and turned into a powder, and the final product sort of looks like baking powder and is safe to eat.
As gluten free flour doesn’t have the right proteins (i.e. gluten) to bake a soft and fluffy cake, xanthan gum acts as the ‘protein’ to ensure you cakes have a soft and fluffy texture.
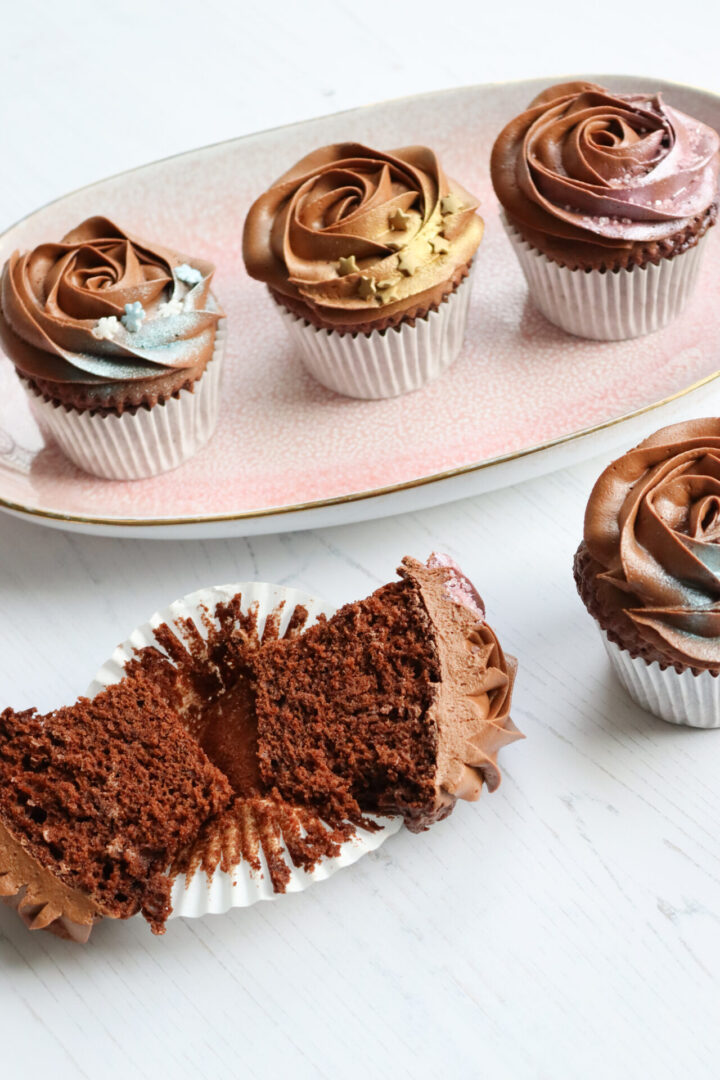
When baking these cupcakes, I would suggest that you to slightly underbake them. This will vary from oven to oven, but bake for about 15 minutes and check how wet the toothpick is after you inserted it into some of the cupcakes. If it comes out too wet it still needs more time in the oven. If it’s got a bit of batter sticking to it, then it’s ready to remove from the oven, and this will ensure your cakes turn out super fluffy and moist.
For the cupcakes
7 oz. dark chocolate, roughly chopped
10 oz. dairy free butter (preferably Vitalite or Stork that comes in a foil), room temperature
10 oz. soft light brown sugar
10 oz. gluten free self-raising flour (such as Doves Farm)
1 tsp. xanthan gum (by Doves Farm)
1 tsp. bicarbonate of soda
4 eggs
For the buttercream
8 oz. dairy free butter (preferably Vitalite or Stork that comes in a foil), room temperature
8 oz. dark chocolate
1 tsp. vanilla extract
14 oz. icing sugar, sifted
For the decorations
Your favourite sprinkles
Edible glitter
I'd love to see how you've made it! Tag me on Instagram @neyskitchen.official with #neyskitchenofficial or contact me to submit your photos.